And I just happen to have purchased a new grill making my old rotisserie obsolete... Might have to add a prop to this year's list!!!
Showing posts with label Props. Show all posts
Showing posts with label Props. Show all posts
Friday, June 21, 2013
Tuesday, June 18, 2013
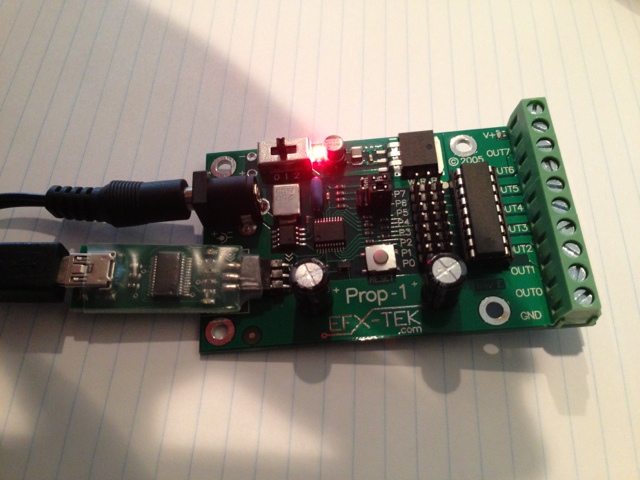
Getting started with Prop Controllers

Saturday, October 8, 2011
6' Armature is complete!
I mentioned it in a previous post, but now have the video and pictures to share. I will probably end up using screws to secure several of the joints together. Once I added the foam to the arms and legs and then added the clothes, there is more tension on the joints. I also ordered two new hands since I only had the one shown in the picture... They look good, but are too white so I will have to paint them a bit to make them match the mask a little better.


Coffin is complete! (for this year anyway)
I used 3/4" Pine plywood (three 4x8 sheets) and the plans at the following address:
http://wayneofthewoods.com/coffin%202.html
My joints aren't quite furniture grade, but it is very sturdy and will look great in the graveyard. Before next year I will probably stain it and either add a cross to the lid or possibly cut a cross into the lid... This took much less time that the 6' Armature since I had all the right tools:
- Table saw to cut the angles on the side boards
- Circular saw with straight edge to cut the top, bottom, and sides
- Hand plane to make the joints relatively tight
- Corded drill with countersink drill bits
- Cordless drill
- Speed triangle to keep things square and calculate the angles (which all matched what were listed on the website!


Monday, September 19, 2011
6 Foot Armature
30 minutes seems to be my time allotment for Halloween projects...
I went to Home Depot on Saturday and bought materials for a bunch of projects:
- Grim Reaper Armature
- 6' Armature
- Coffin
- Modified Fog Chiller
- Tombstones
Here is the skeleton part of the 6' Armature, complete. It only took about 30 minutes to make this and about half of the Grim Reaper skeleton. Next is to add the chest and bulk up the arms/legs and finish the reaper skeleton. And don't worry, that isn't all neck, it will go to the top of the head inside whatever mask I am using on this dummy.

Tuesday, September 13, 2011
Grim Reaper Project Update
I spent about 30 minutes working on the Grim Reaper modification tonight:
- removed the terrible fabrics and grass
- reshaped the skull and eye sockets
- replaced broken zip ties holding skull to frame
- found that the wingspan was only 6'! So, I removed the hands so I can lengthen the arms
- removed the blue LED eyes for now
Next up is to build the armature and sew the new cloak...
Monday, September 5, 2011
Project - Modifying store bought props: Grim Reaper
One of the easiest ways to get started on making your Halloween a bit spookier is to buy a prop and then look for ways to improve it! Take this skeleton for example:
 PROS:
PROS:
Plan:

- A full 10 feet tall!
- Features on face and hands are well defined
- Hangs on the wall (not very good for an outside prop)
- Flimsy white fabric and lightweight paper are neither scary nor durable
- Arms are too short and are made with bent wire that isn't hidden by the fabric
- "Grass" hair has to go
- Blue eyes just aren't that scary
Plan:
- Replace all of the fabric with black broadcloth (purchased 12 yds. on sale for $1.99/yd)
- Use a black open-weave specialty Halloween cloth for the hood (purchased 3 yds. on sale for $6.30/yd)
- Trash the grass
- Lengthen the arms to be more appropriate for his height
- Create a scythe to scale with wood, paint black, and place in his hand
- Make him free-standing, rather than needing to hang
- Optional (if time allows): replace Blue LEDs with Red
Subscribe to:
Posts (Atom)