Welcome to my Blog for everything Halloween including how to bring the TRICK back to Trick or Treating.
Sunday, October 20, 2013
Creative placement of spooky wall decal
Kennedy had the great idea of putting the wall decal over the door so you see it in the mirror when you go to wash your hands. It works perfectly!
Saturday, October 19, 2013
Faux Boards for the windows and front door
Well, I didn't have enough monster mud leftover to treat the two columns so I focused on making some fake boards to apply to the front windows and door. I think they turned out very well and are extremely cheap to make.
Supplies:
- black foam core with black foam (I bought mine at Michael's from the framing department; each sheet was 40"x60")
- wood grain contact paper (Home Depot)
- a black sharpie
- utility knife with new blade
Step 1) Apply the contact paper to the foam core. I wanted my boards to be 40" wide, so I applied the contact paper across the short side of the foam core so the grain ran the right way.
Step 2) Using the sharpie, go over the dark grain lines on the contact paper. Since these will be used outside, at night, this will make the boards stand out better and give them a weathered look. Don't worry about making the lines perfect since no one will be inspecting them up close.
Step 3) Decide how wide you want each board to be and the cut the foam core into the individual boards. Again, don't try to make the boards too straight since the crooked edges give them a more natural and spooky look. I used a framing triangle that ran along the top edge to give me a rough target of the width (3.5") but let the knife wander up and down to give a wavy edge.
Step 4) Notch the ends and cut out any knots in the middle of the boards to make them look even more weathered.
Let me know what you think!
One board without the sharpie treatment and one with:
Here are a few sample boards:
The final stack:
Friday, October 4, 2013
Columns for the fence are underway
Building on Lisa's idea to extend the fence to include the driveway, I am we'll underway in fabricating two columns to support the fence ends and create an opening to allow trick or treaters to brave the graveyard. I wanted them to be sturdy enough to not fall over if they were bumped by retreating kids and also to prevent the faux rock from breaking. To accomplish this, I used 2x4s as the main structure and a laminate board for the top. I also included a removable panel to allow the addition of lighting or other electronics in the future. The two horizontal 2x4's visible will hold the 1x2 that extends outside the box to mount the fence to. I also used magnets and plates to hold the removable panel in place.
Then I glued foam boards onto the three fixed sides and the removable panel using gorilla glue that includes foam on the list of compatible materials. Once attached, I used a Sharpie to sketch out the design for the fake stones. Again, Lisa had some great suggestions on making sure the "stones" weren't too even or squared off.
You will hopefully notice that there is a fair amount of texture on the columns. This was added by hitting the foam randomly with different parts of the back of a utility knife. I thought about different tools but found this had a perfect range of shapes all built into one device which allowed me to achieve a random look.
After adding the texture and sketching out both columns, I proceeded to melt the "grout" lines. I initially tried using the low-temp tools I purchased specifically for these fabrication projects but it would have taken forever since the tool only melted a thin line with each pass. Then I switched to a higher temperature electronics soldering tool and it worked great! I held it at a very shallow angle and dragged it quickly back and forth to minimize any lines.
Next steps:
- beat up the edges of the boxes a bit more to make them less squared off
- melt out the holes for the fence mounting hardware
- apply monster mud
- paint the stones and add weathering effects (painting)
- paint and add fence mounting pieces
Friday, June 21, 2013
Build a flying crank ghost out of cheese-cloth and a rotisserie motor!
And I just happen to have purchased a new grill making my old rotisserie obsolete... Might have to add a prop to this year's list!!!
Tuesday, June 18, 2013
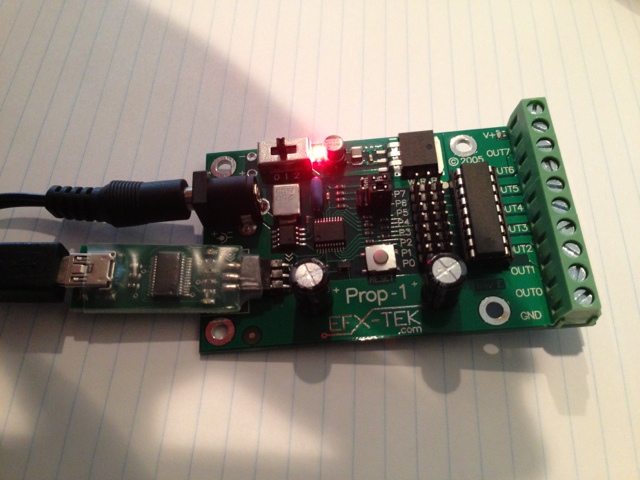
Getting started with Prop Controllers
Subscribe to:
Comments (Atom)


